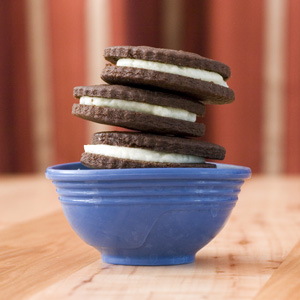
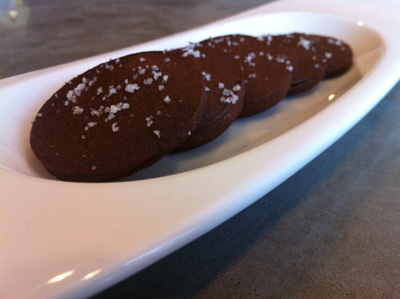
Oreos are by far my favorite cookie of all times. There’s something magical about the crispy wafer and creamy yet somehow vegan filling. These home made Oreos are a riff on Thomas Keller’s T.K.O’s (Total Knock Outs) from his Bouchon Bakery Cookbook. This recipe uses quite a bit of salt and you can really taste it in the final cookie. I think it gives them a really unique grown-up taste, but if you prefer something sweeter, just cut the amount in half. This is definitely one of the easiest recipes in the book, so give it a try!

Ingredients: Makes 24 sandwich cookies
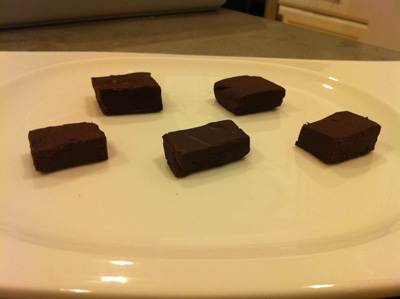
Cream Filling
- 125g chopped white chocolate
- 15g unsalted butter
- 125g heavy whipping cream
Chocolate Cookies
- 260g all purpose flour
- 87g unsweetened alkalized cocoa powder (Hershey’s is fine, but if you can, spring for something a bit better)
- 1.8g baking soda
- 227g (2 sticks) unsalted butter slightly softened
- 6g Kosher salt
- 160g sugar
Preparation
Cream Filling
- Melt the chocolate and butter together in a double boiler

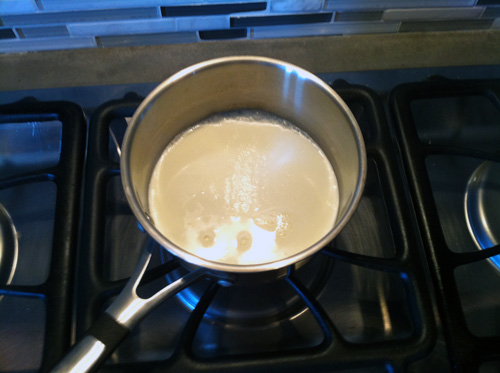
- Meanwhile, bring the heavy cream to a simmer in a small pot
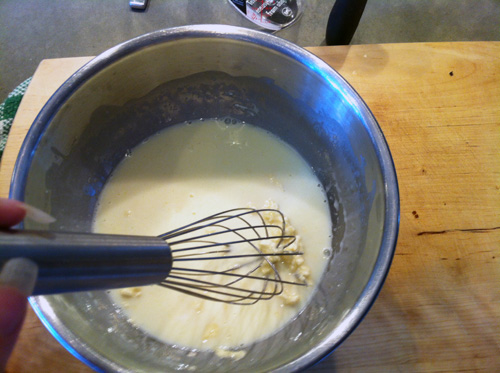
- Once the chocolate and butter are melted and combined, remove them from heat and pour the hot cream overtop.
- Whisk the mixture until the chocolate is fully melted and combined with the cream.
- Strain the mixture into a container and refrigerate for at least four hours or up to 2 days
Chocolate Cookies
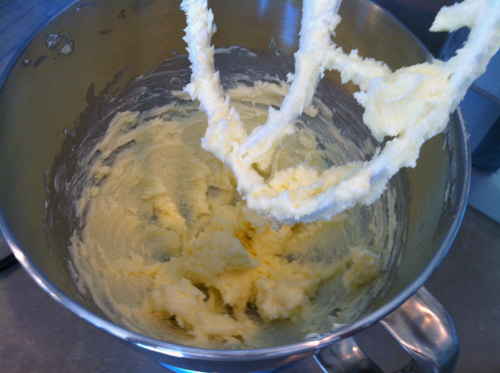
- Place the butter, sugar, and salt in a stand mixer fitted with the paddle attachment. Mix on low speed until they are combined and it is light and fluffy (about 5 minutes)
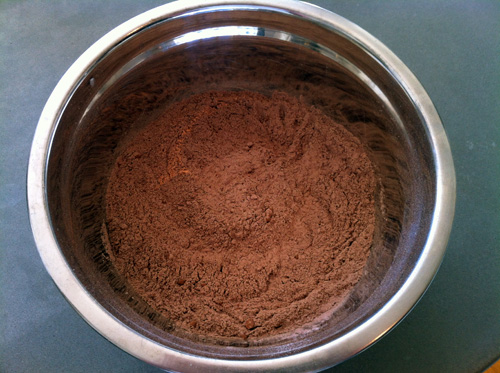
- Meanwhile, sift together the flour, cocoa powder, and baking soda. Whisk until well combined.
- With the mixer on low, add the dry ingredients in two batches, waiting until each is combined. Scrape down the sides of the bowl to ensure it is mixed well.
- Mix just until the dough comes together in big clumps.
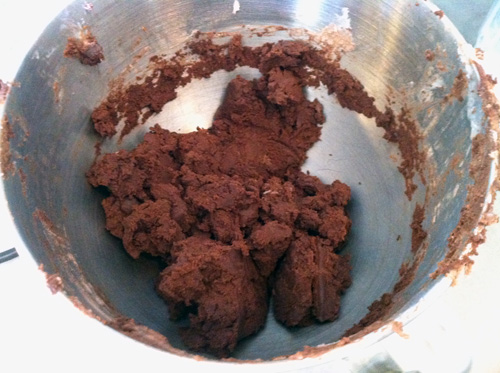
- Turn the dough out onto wax paper or a work surface and knead until it just comes together. Pat it into a round block, wrap in plastic and refrigerate for at least an hour. The dough can be refrigerated for up to 3 days or frozen for up to 2 months.
- Preheat the oven to 325°F (standard) or 300°F (convection) and line two sheet trays with parchment paper or silpats.
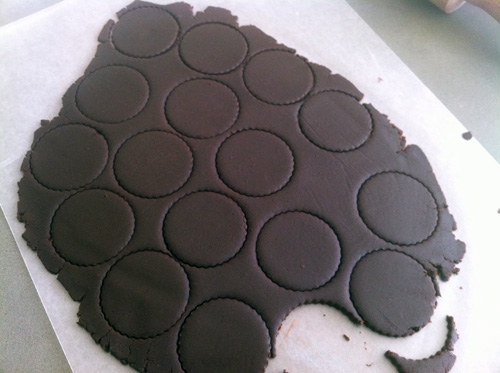
- Let the dough warm up slightly so that it is malleable. Place it on a piece of wax paper and cover with another. This will prevent your rolling pin from becoming stained with chocolate.
- Roll the dough out to 1/8 inch thickness. Using a 2 inch round cutter, punch out the cookies and transfer them to the prepared baking sheets. You can push the scraps together and reroll them out (refrigerate if the dough gets too soft and greasy).
- Bake the cookies for 13 minutes (rotating the trays halfway through). They should be very fragrant and have small cracks in the surface.
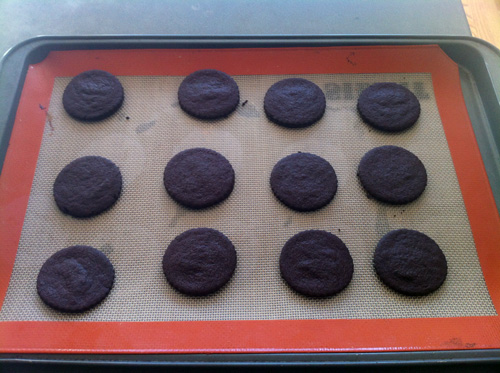
- Let the cookies cool completely before icing.
- Put the icing in a small bowl and whip until it is stiff enough to not ooze all over the place. Place the icing in a pastry bag (or a small ziploc bag with one corner cut).
- Turn half the cookies over so the flat side is facing up. Squeeze out a generous amount of icing and top with one of the non flipped cookies.
- The cookies are best the day they are made, but can be kept in an airtight container in the refrigerator for up to 5 days.


Leave a Reply